Setup
|
RollBack Rx RMC has two components: Remote Management Server and Remote Management Console. They can be setup on the same computer or two different PC's. Setup Remote
Management Server (RMS) and Remote Management Console (RMC) in the
Same Computer |
|
|
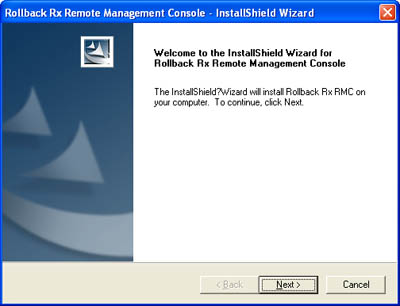
1. Start RollBack Rx RMC setup by double-clicking setup.exe from the program folder. |
|
|
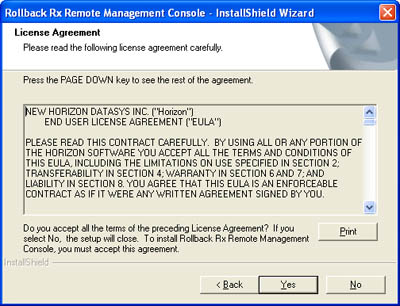
2. Read the End User License Agreement (EULA) and click on Yes to accept it. |
|
|
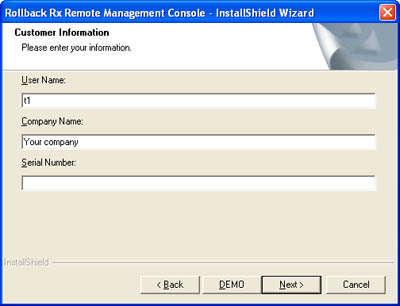
3. Provide the Serial Number received from Horizon DataSys, Inc. To setup RollBack Rx RMC in demo mode, click on the Demo button to generate a Demo ID. Setup RMC in the demo mode only allows three client workstations connecting to the RMC. Note: RollBack Rx Versions 9.x and above no longer require activation of the RollBack Rx RMC. The RMC is provided as a complimentary management tool for all RollBack Rx client installations.
|
|
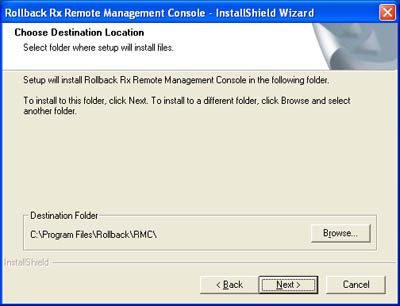
| 4. Select a folder to copy the program files to. |
|
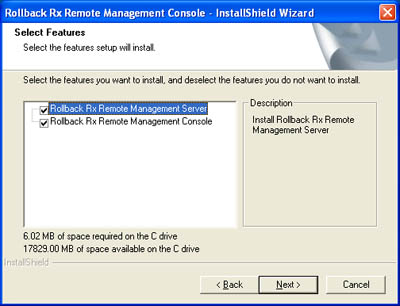
| 5. Select both RollBack Rx Remote Management Server and Rollback Rx Remote Management Console components. |
|
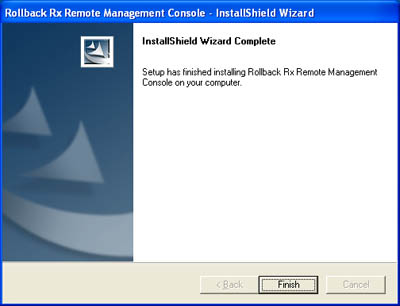
| 6. Click on Finish to complete the setup and start Rollback Rx RMC Server Service. |
|
| Setup Remote Management
Server and Remote Management Console onto Different
Computers
You can also choose to setup the Remote Management Server and Remote Management Console onto two different computers. For example,
setup RMS on an always-available network server to maintaining
client workstations connection, and setup RMC on your personal
laptop. Use the RMC on your laptop to connect to the RMS on the
network server to manage client workstations while you are on the
network. |
|
|
Copyright Horizon DataSys, Inc. |