
|
|
Operating the Recovery Media Builder.
You can find the Recovery Media Builder in the start menu, together with the other programs which came with Drive Cloner Rx. You can use Recovery Media Builder to create a CD from which you can boot your computer to restore it after a disaster. The functionality available from that boot CD is described in the CD operations section.
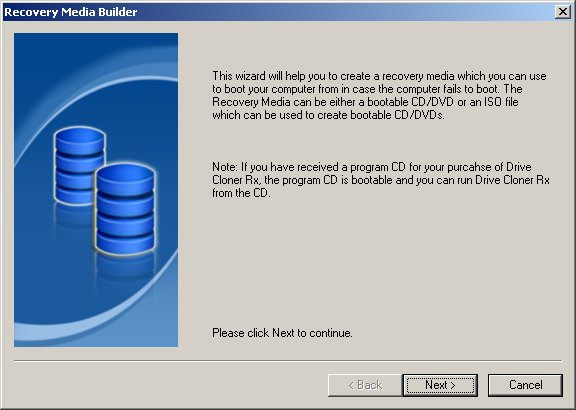
The first thing you will see after clicking the Recovery Media Builder icon is a wizard program. Press "Next >" to continue.
You will be given a choice. You can either create a bootable CD or an .iso file from which you can build one. Creating a bootable CD is usually a better choice for less experienced users. Click the radio button describing your choice and press "Next >" to continue.
Making a bootable CD
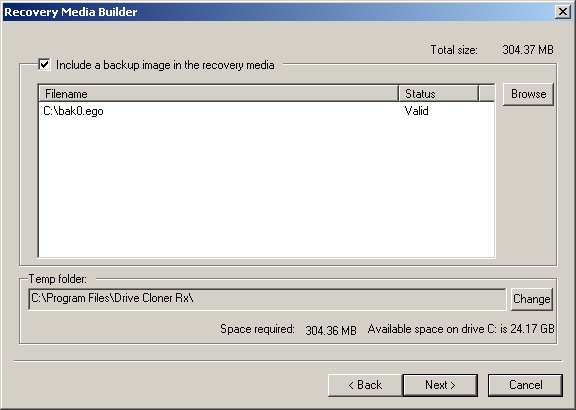
At this point you will have to pick the device that contains a burnable compact disk. Press "Next >" to continue. You will be offered a chance to attach backup files to the CD and you will need to provide a temporary folder for the Recovery Media Builder. The default folder is a good choice. As to the backup files, it is your choice if you want them attached or not. You can pick a .ego file from your hard drive, but keep in mind that you cannot exceed the storage space of a CD. Press "Next >" to continue.
At this point you will be given a chance to name your CD, this is optional. If you haven't done so already, insert the CD into your CD drive and press "Refresh". When ready, press "Next >" to continue. You will be shown a review of all of the settings you have chosen. Press "Next >" to start the burn. This may take a while.
After the CD is done burning, the automatic verification will take place. You should let it run to completion. At the end of the process, press "Done" to finish creating your bootable rescue CD.
Creating an .iso image
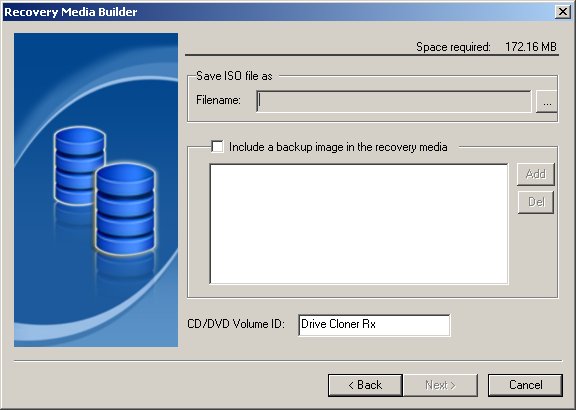
You will be given an opportunity to name the resulting CD, attach a backup file to it and and choose the name and path of the .iso file. You do need to choose a name for your .iso file, all the other information is optional. You can use the "..." to the left of the filename textbox to select your filename for the .iso file. Press "Next >" to continue.
Your .iso file will be written where you chose for it to be written. Click on the "Done" button when it becomes available.
Please note that it is insufficient for you to copy the .iso file onto a CD to create a bootable CD. If you do not know how to burn a CD image onto a CD, please let Recovery Media Builder burn it for you. At the end of the .iso creation process you will be given a link to a resource where you can educate yourself about this.
|
Copyright Horizon Datasys, Inc. |