
|
|
Installation
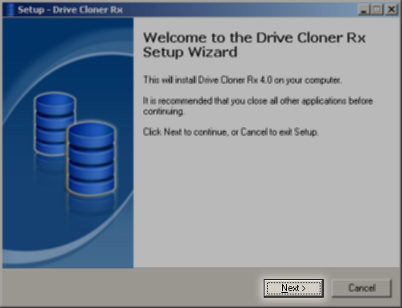
To install Drive Cloner Rx you must run the provided executable file. You will be welcomed by an installation wizard. To proceed you must click on the "Next >" button.

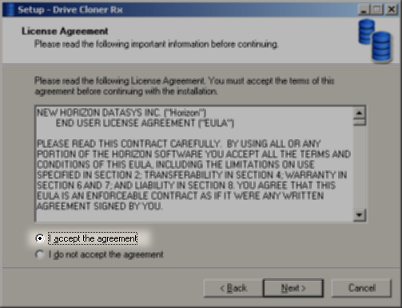
At this point you must accept the Drive Cloner Rx EULA. Click the "I accept the agreement" radio button and confirm by clicking on the "Next >" button.

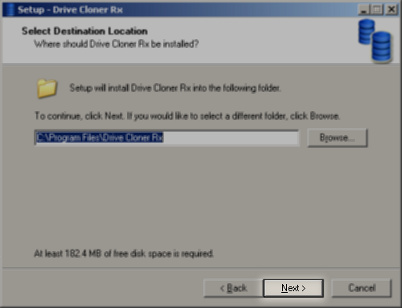
You must select a directory into which Drive Cloner Rx is going to be installed to. The default directory is usually a good choice. As usual, proceed with the "Next >" button

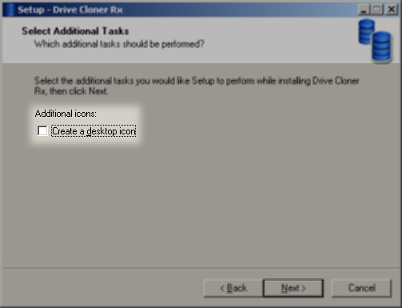
If you want to create a desktop icon for the software, you may do so by ticking the "Create a desktop icon" tickbox. Press the "Next >" button again.

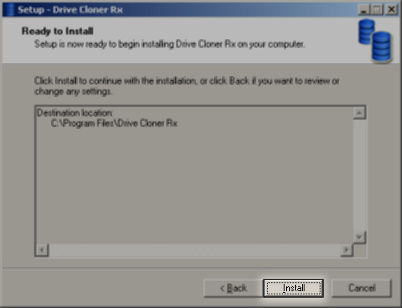
Review the settings and if they seem satisfactory to you, click on "Install" to begin the file copying.

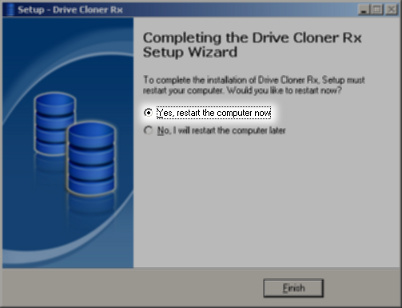
Congratulations, Drive Cloner Rx is installed on your computer! As a final step you need to reboot your computer before the software starts working. You can continue using your computer. Decide if you want to reboot now, select the correct radio button and click on "Finish" to complete the installation

|
Copyright Horizon Datasys, Inc. |